

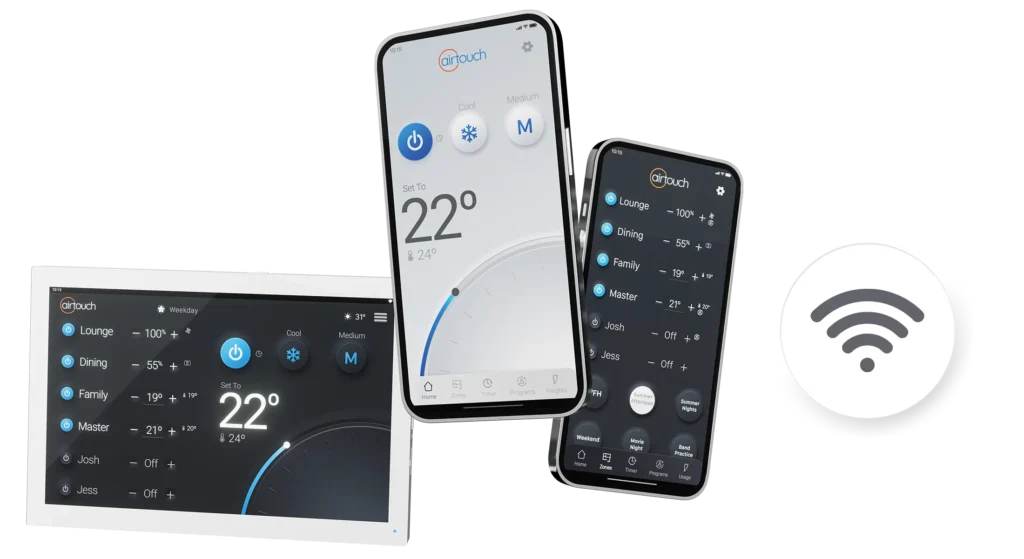
To enjoy the benefits of this, you’ll need to connect AirTouch to your home WiFi network with an always available internet connection. Once done, you can control your air conditioning from wherever you are in the world.
Let’s see how to get your home’s system online.
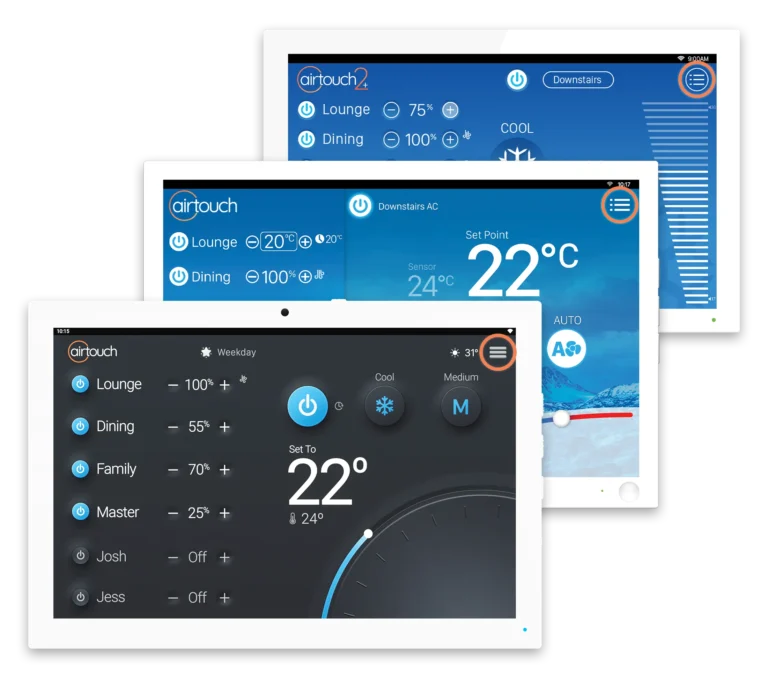
How to Connect AirTouch 2 Plus, 4 or 5 to WiFi
AirTouch 5 can connect to either 5Ghz or 2.4Ghz WiFi networks. All other models need to be connected to 2.4Ghz WiFi.
If you have an AirTouch 4 or 5, the console runs on Android so all that’s required is connect to your local WiFi network through the Operating System Settings.
There is a shortcut to the relevant settings page via the Quick Menu in the top right hand corner of the console screen.
If you are using AirTouch 2 Plus, just tap WiFi Settings in the Quick Menu, choose your network from the list, then enter your network passcode.
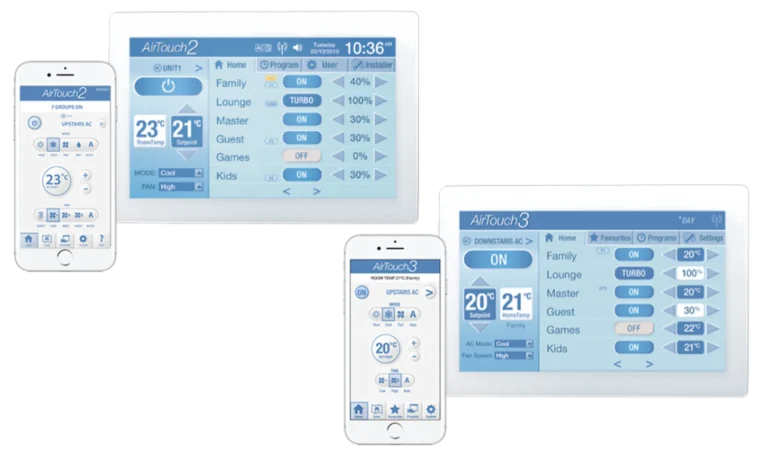
How to Connect AirTouch 2 or 3 to WiFi
You can connect by scanning for your home WiFi network, or inputting it manually through the options in Settings. Follow these steps below:
Please make sure that the 2.4Ghz WiFi band is turned on at your router.
- On your AirTouch panel, tap User and then WiFi to enter the WiFi Setup screen.
Note: If AirTouch is currently connected to a WiFi network, its SSID name will be ticked. - If the wireless network SSID is known, tap the SSID field to display the keyboard on screen and then input the first few characters of the SSID. Tap Enter to confirm the SSID input.
- Tap Scan to start scanning for available WiFi networks/routers or touch Other to bring up the manual WiFi SSID input.
- On completion of the scan, a list of WiFi networks will be displayed. Tap the desired network’s name and then go to the next step. If your desired network is not in the list, choose to enter it manually on the WiFi setup screen (see step 3).
- Tap the password field to enter the password of the WiFi network. Tap Enter to confirm. AirTouch supports WEP, WPA, and WPA2 Wireless network encryption.
- Tap Connect to join the desired WiFi network. Connecting will appear on the screen while AirTouch joins the network, and will subsequently change to Connected when successful.
The WiFi logo will be shown on the top status bar whenever AirTouch is connected to a WiFi network.
AirTouch will stay permanently connected unless the network settings change on the home router such as the Network Name (aka SSID), password, security levels, or MAC filters for example.
If something such as the SSID or password is changed, just rejoin the network with the new settings. And don’t worry if there is a power failure, as the WiFi connection will automatically resume when your home router is back up and running.
You're All Connected
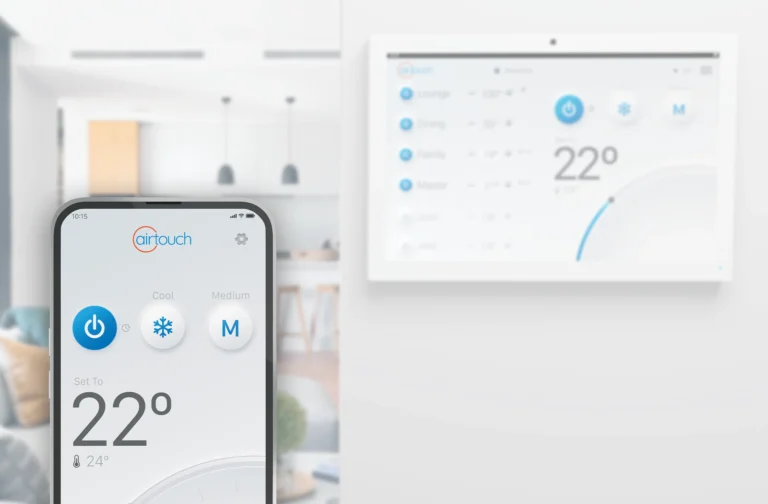
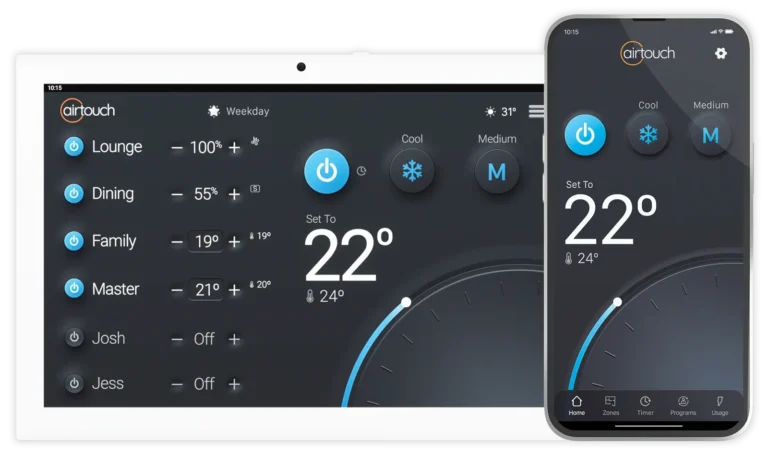
Now, you can setup and run the AirTouch App on your iOS or Android smart devices to control your AC system.
Make sure that your device is on the same WiFi network, and band, then install and open the app to establish an initial connection between it and your AirTouch.