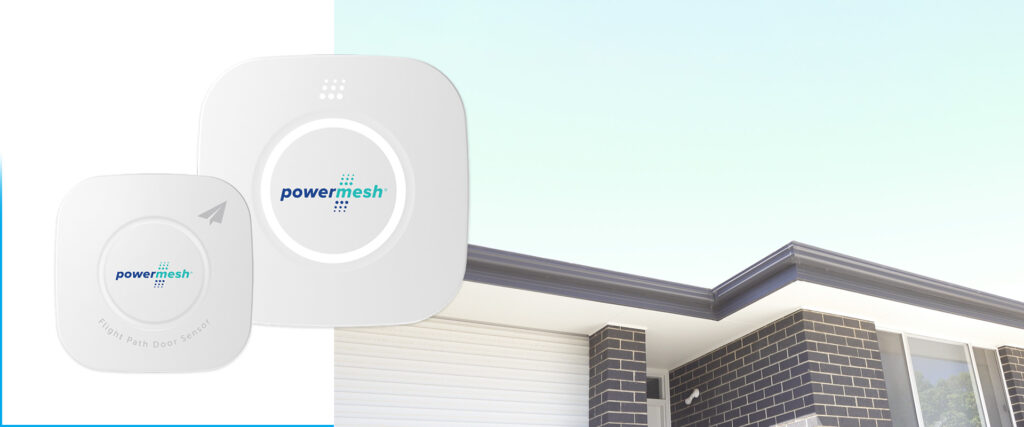
It is now very easy to make your home’s electric garage door smart, and control it over your phone app, voice control or the AirTouch home hub, with the latest AirTouch latest add on: the Powermesh Garage Door Controller.
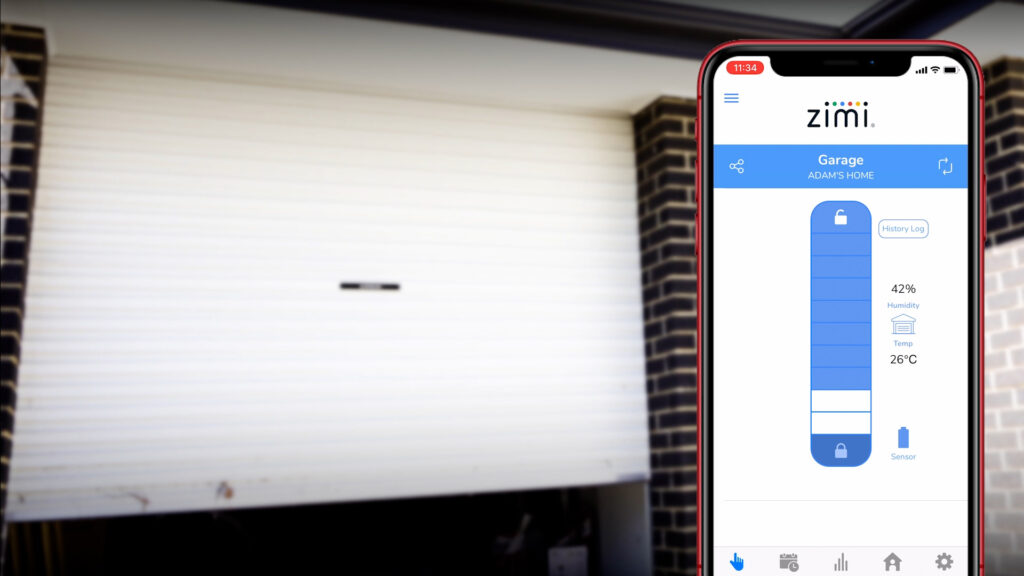
As a part of his wider home automation upgrade project for this year, our team member Adam installed this device on his own garage door, and is now able to control his door from anywhere in the world by phone, or hands free. He finds being able to control the door from the AirTouch touch screen particularly useful. He also enjoys the clever ‘Flight Path’ technology:
“It is great because the Flight Path technology lets me open and close my garage door in small increments,” Adam says, “which is good if I need to accept a delivery from a courier who calls me when I’m not at home. I can use my phone to open the door just a little, they tuck in the parcel and I know it is definitely in a safe place.”
“I can still use the existing garage door remote as well.”
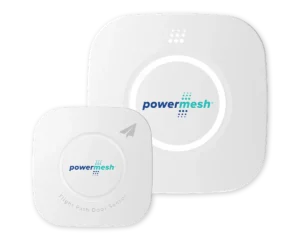
In the box, you get the Powermesh Garage Door Controller, the Flight Path Sensor, the Tilt Door adapter (more on this later) as well as a pre-wired quick connector and power adapter. The only extra tool you need is a Philips head screw driver to install the sensor’s supplied battery. Don’t worry if you ever need to change the battery, as it is easily removed with the Velcro connection.
“The supplied step by step instructions are really very easy to follow and it is clear how you can get everything installed, setup and running very quickly,” says Adam.
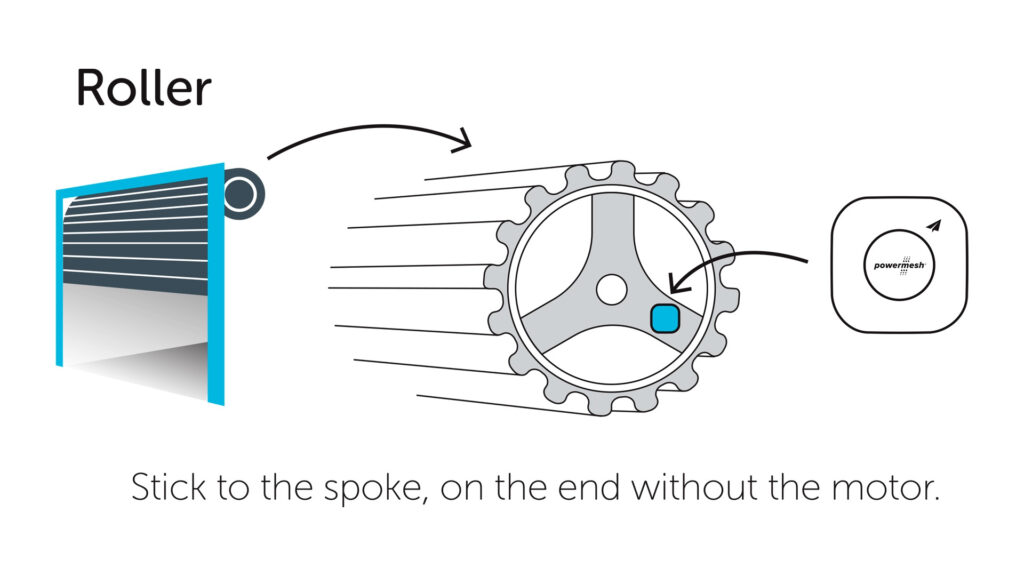
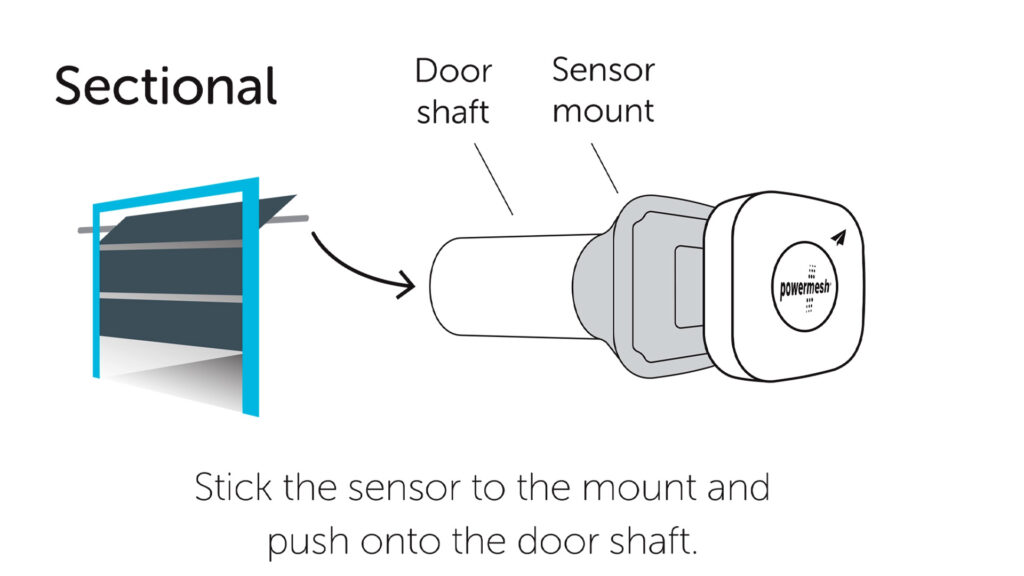
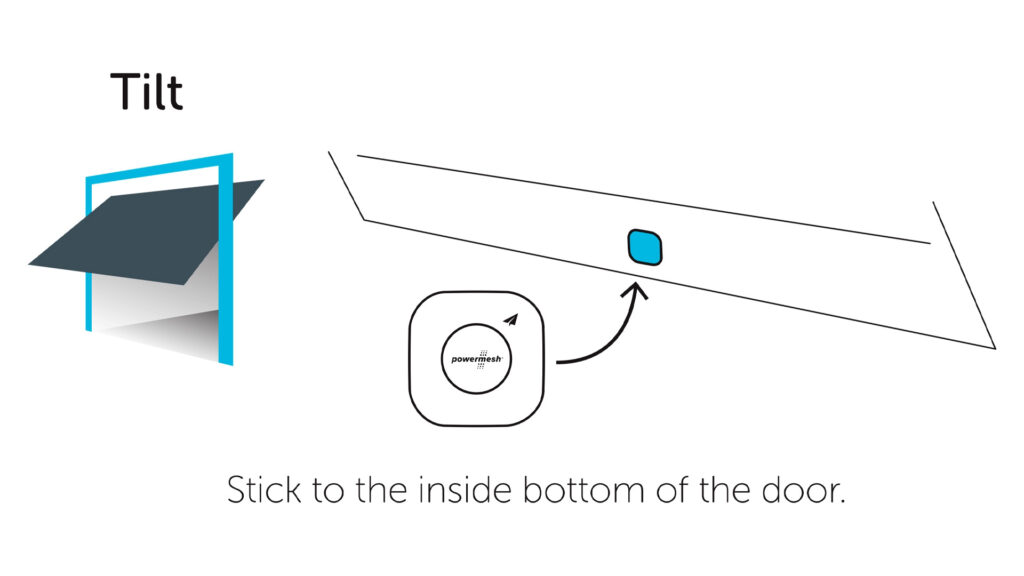
Before mounting the sensor, make sure that the garage door is open. The type of electric door you have will determine where you need to place the sensor. If you have a roller door, attach it to one of the spokes on the opposite side to the motor. If you have a panel door, use the supplied panel door adapter by sticking the sensor to it, and attach this to the door shaft on either side. Finally, if you have a tilt door, attach it to the bottom of your door.
Unplug your garage door motor for safety. Then, locate the push button terminals. Attach the wiring from the controller for M1 (your first garage door motor) to the Bell/Push button terminals.
If you have a second garage door with another motor, you can link this to M2. You’ll need an extra sensor, but you can use the same controller.
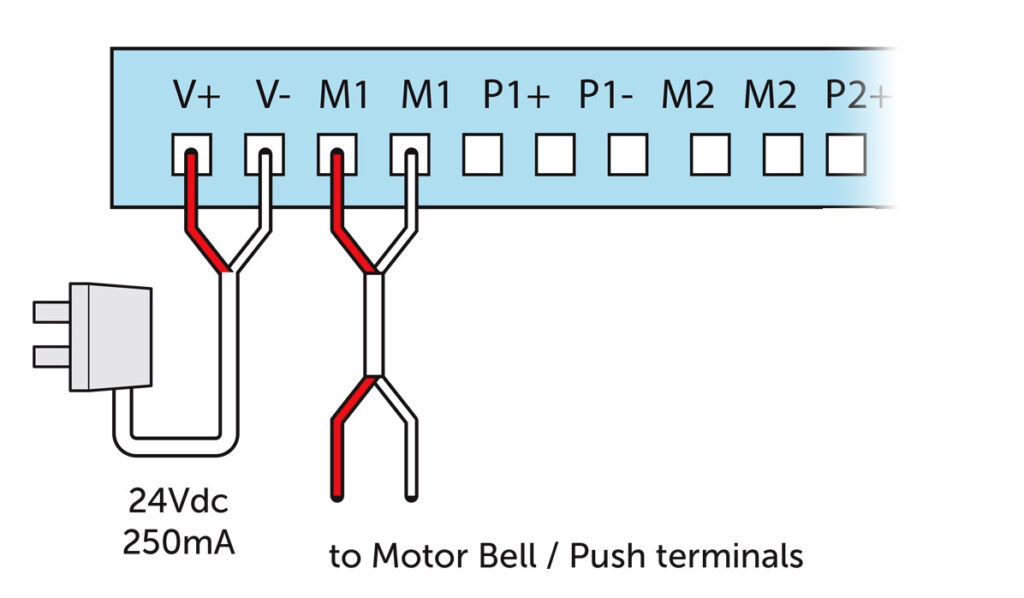
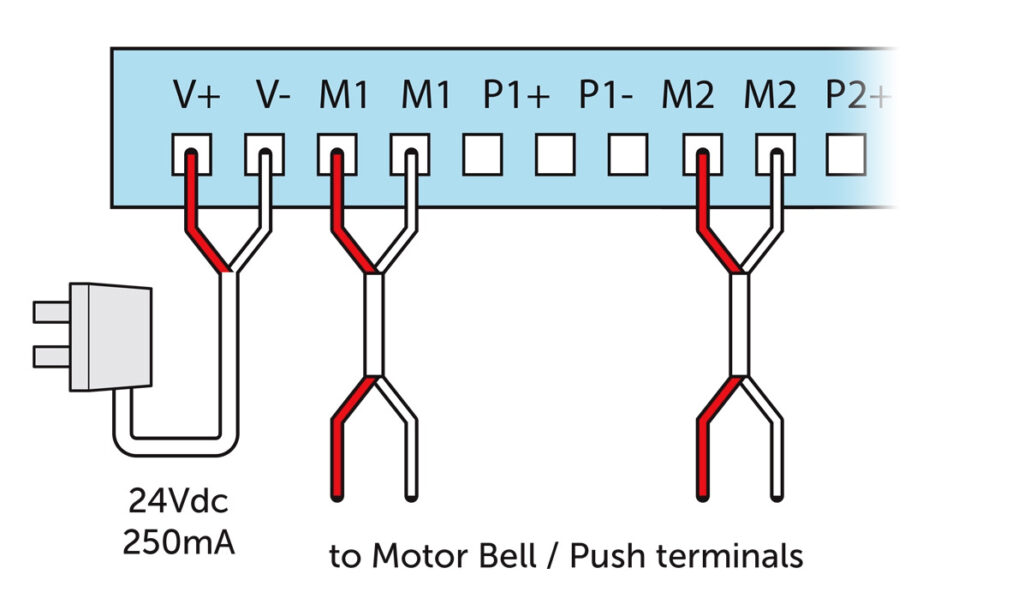
Use the pre-attached adhesive to stick the controller to your wall or ceiling. Plug in your controller and garage door motor. When the light turns blue, it is ready to pair. Open the Zimi app, create a home network if you don’t already have one and name it whatever you like. Zimi will search for your garage door controller.
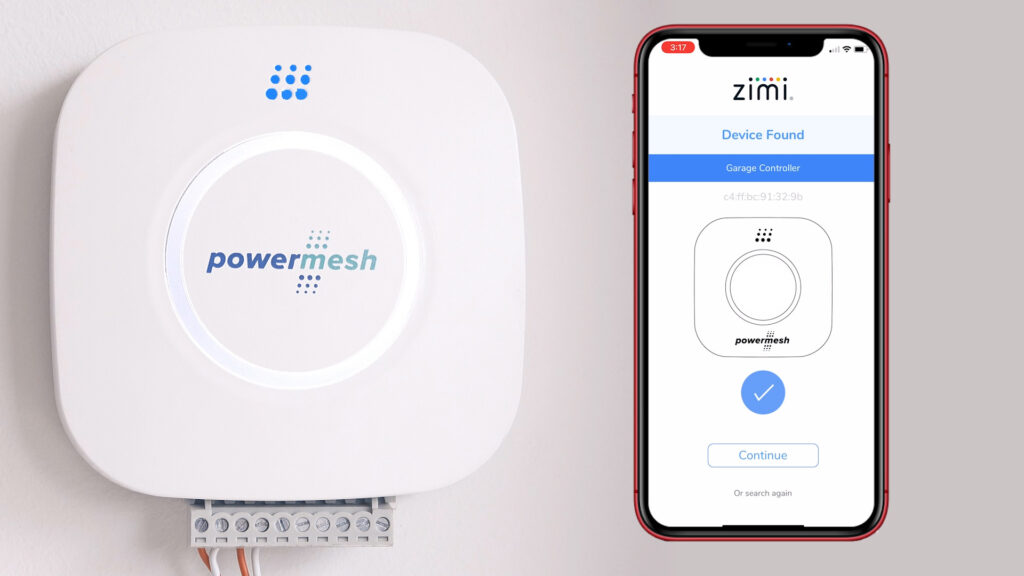
When it has found it, follow the wizard to link your sensor, and setup Flight Path control. Your door will open and close a few times which Zimi trains your door so make sure it is clear. Learn more about this great product here.

